The Recon-A-Tron
Vague Ideas
When I was first learning programming, a cousin introduced me to the Raspberry Pi and suggested a very small robotics project.
Two projects began as a result of this inspiration, for now I will discuss The Recon-A-Tron MKI.
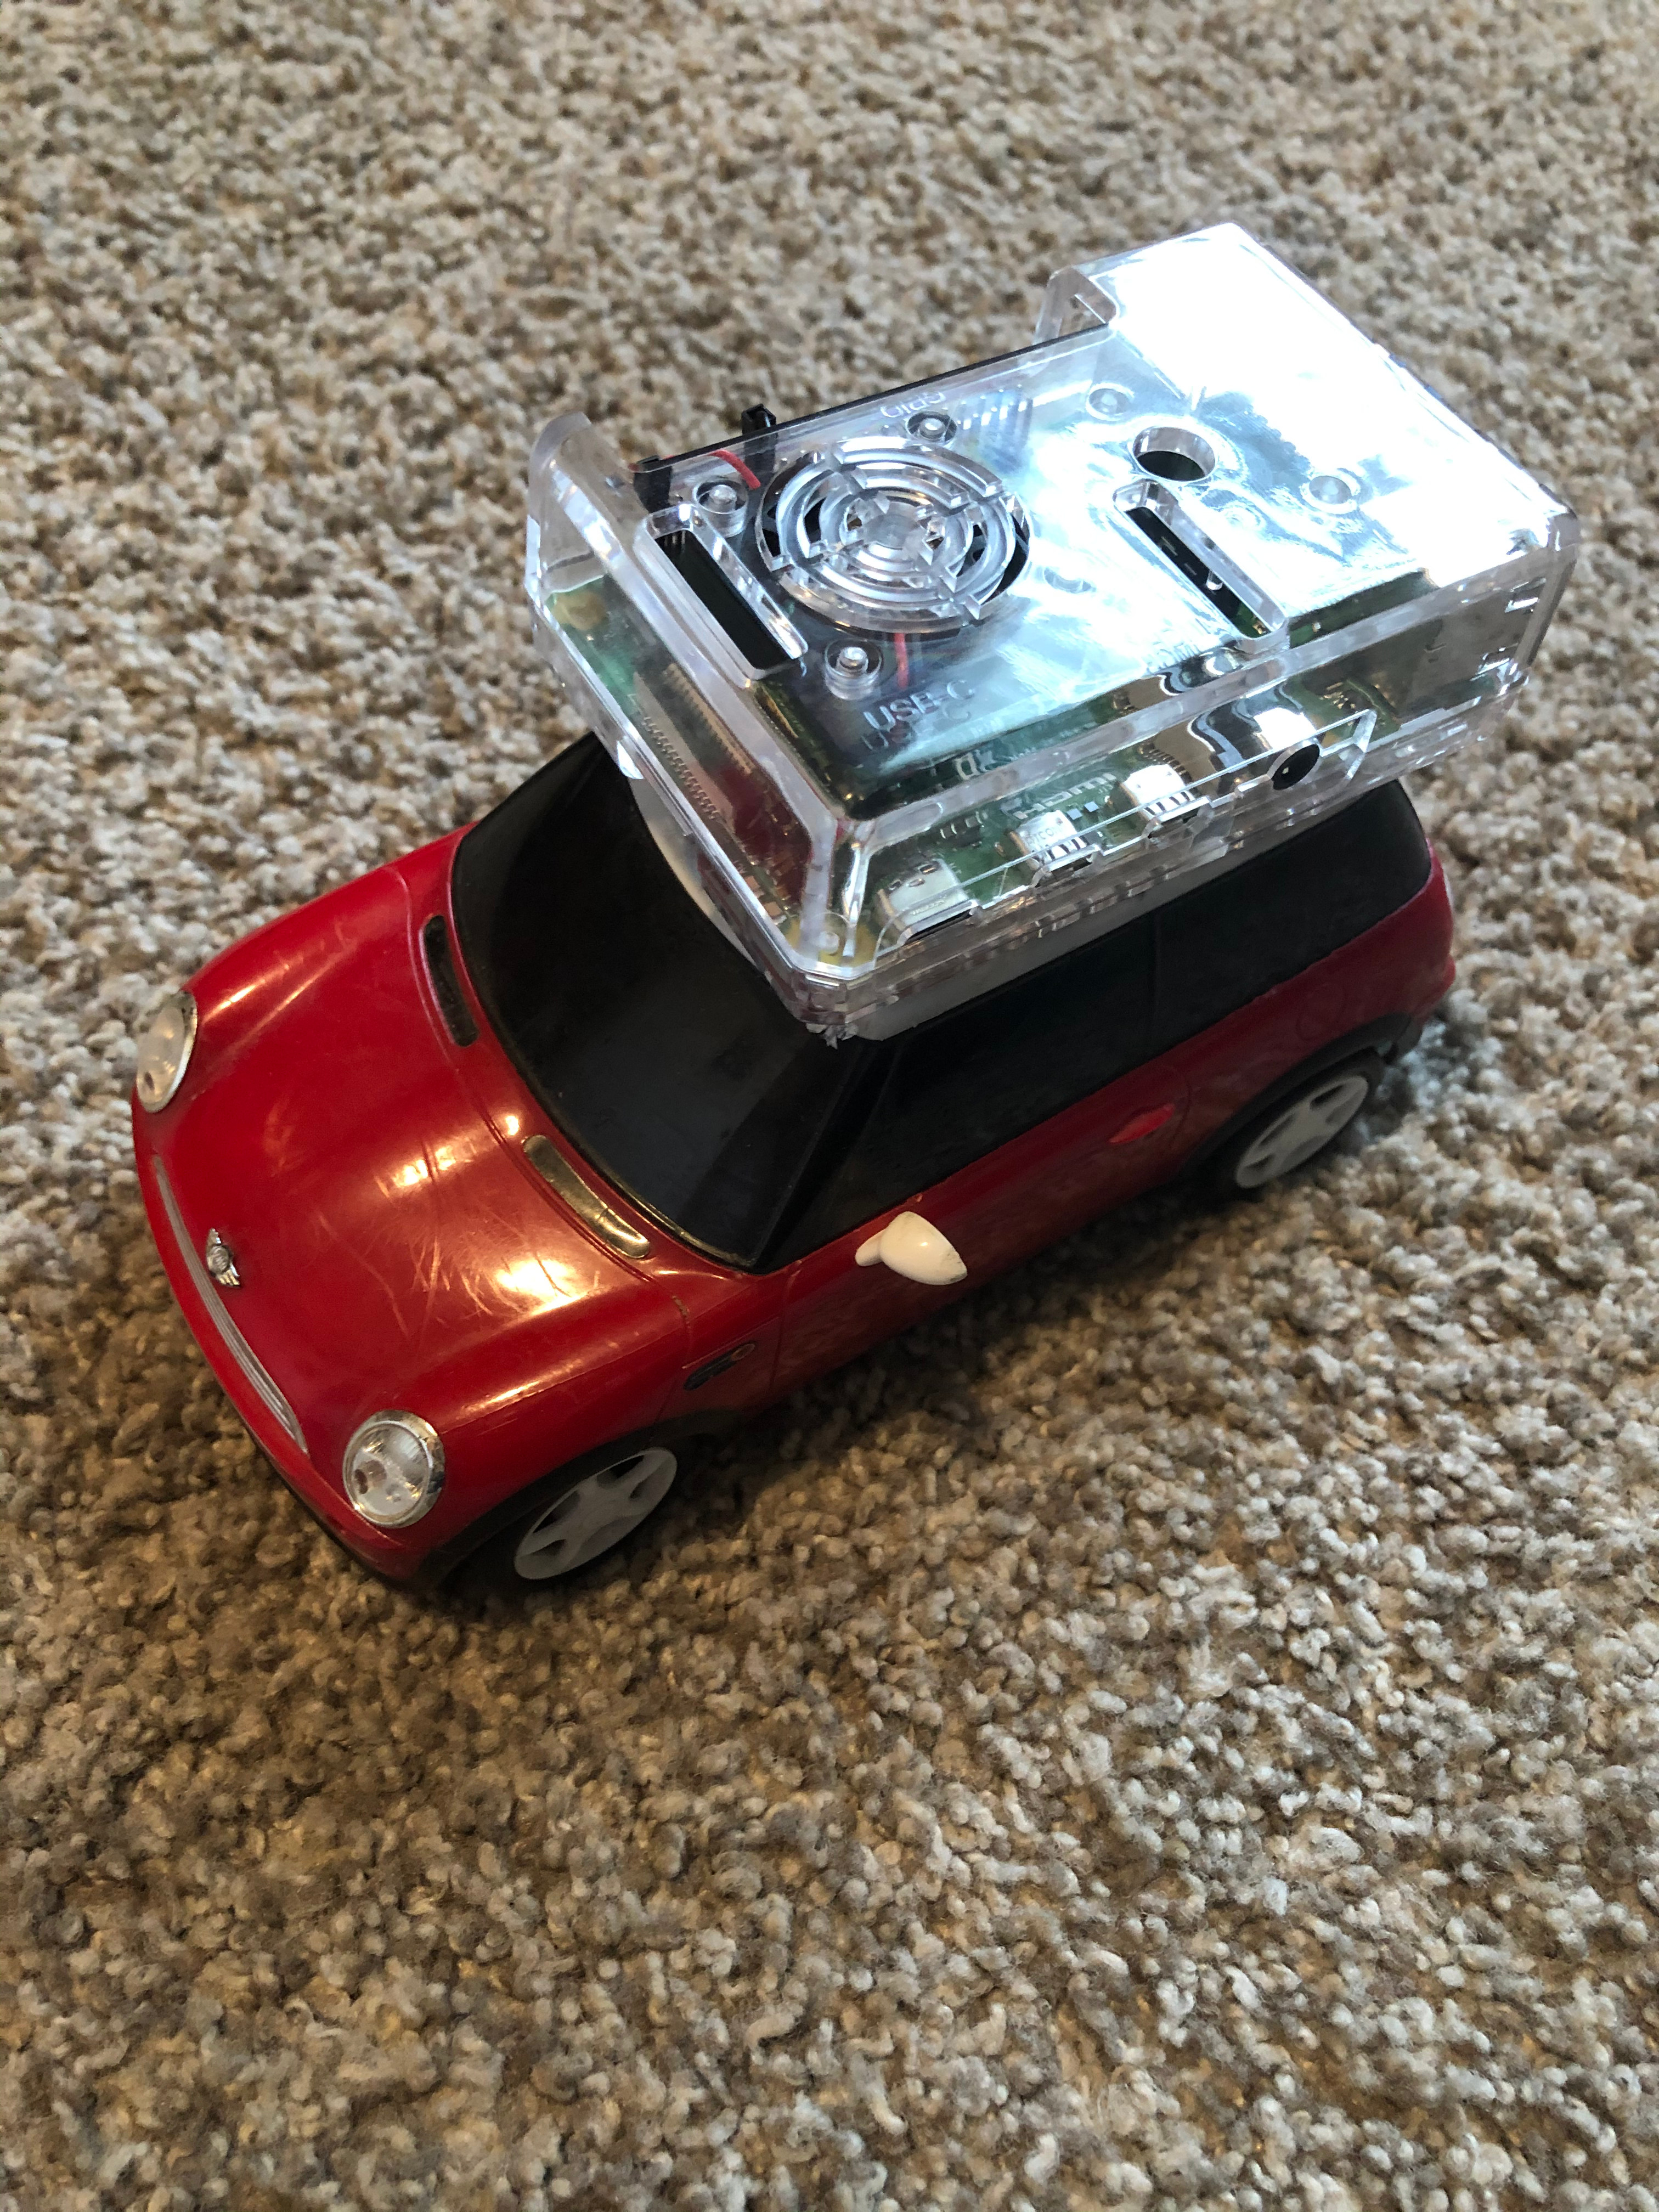
I decided I would call this project... Roadant? Robo-car? Hijak-RC? I had a few different ideas for what to call it, I stuck with Roadant for awhile.
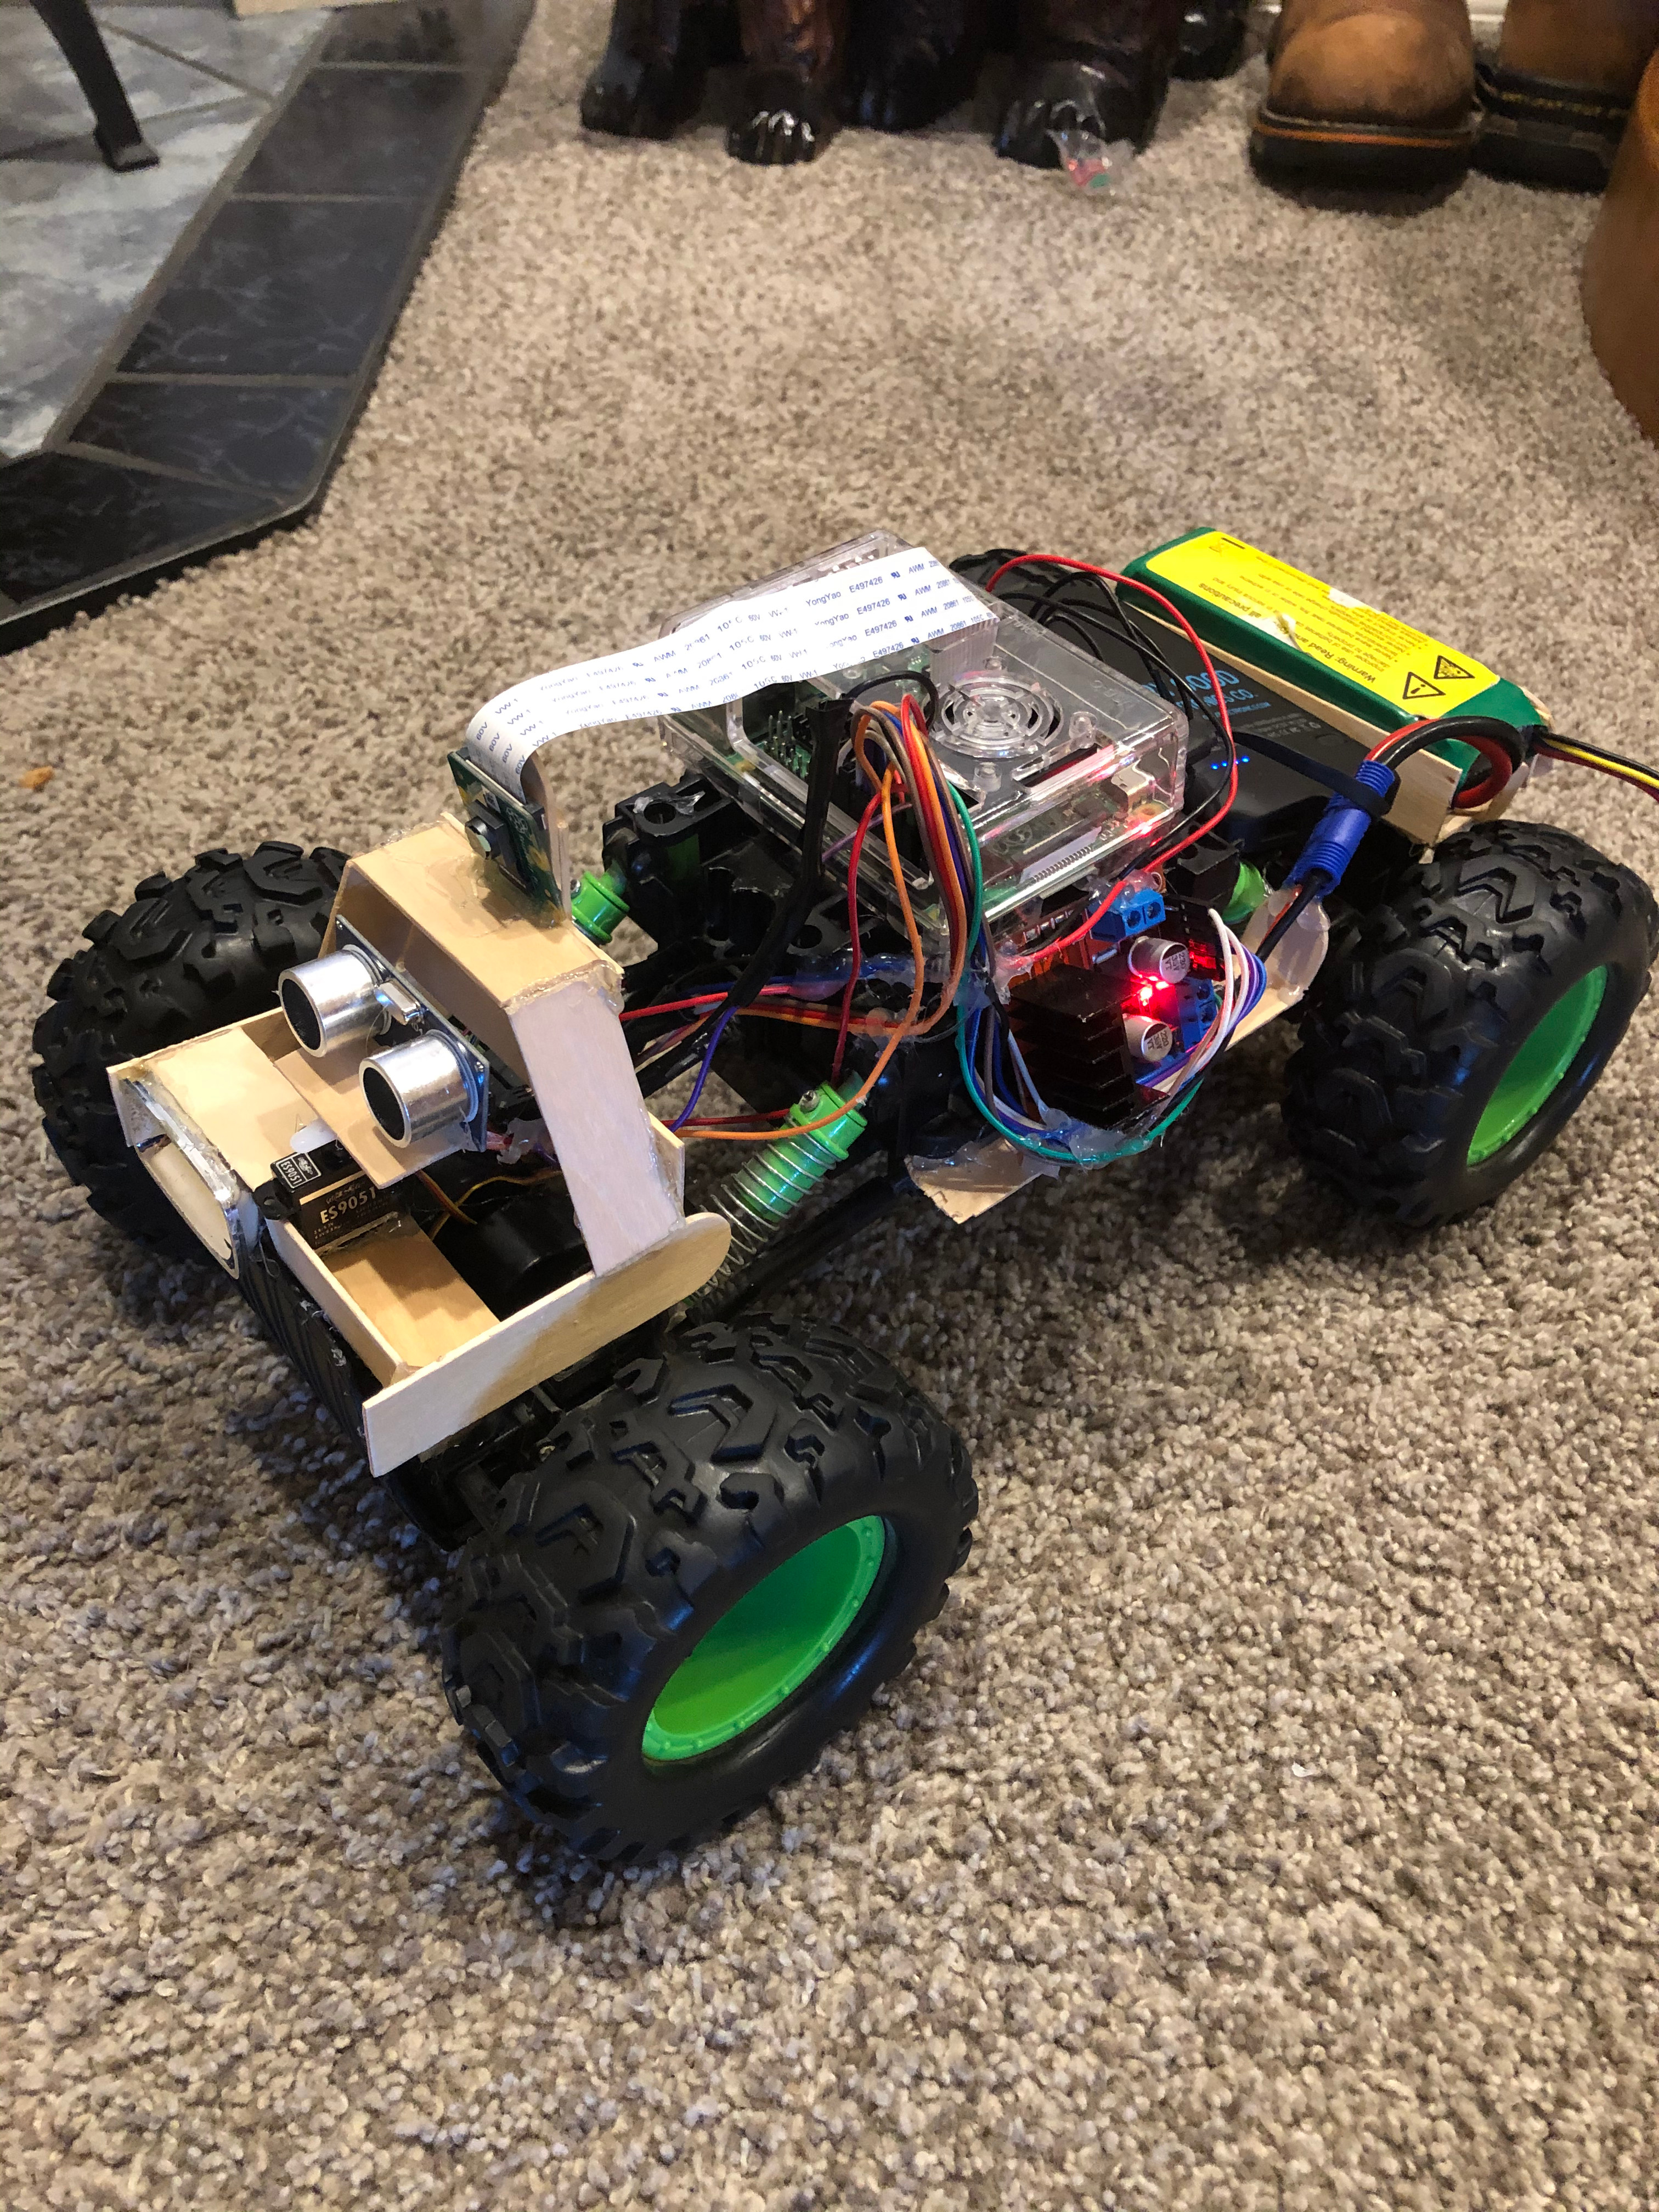
When I started thinking about it more deeply, it became clear the tiny rc mini-cooper would not handle any kind of terrain beyond the kitchen floor. So I found a bigger model to build on.
This cemented the idea that it would be a semi-off-road vehicle.
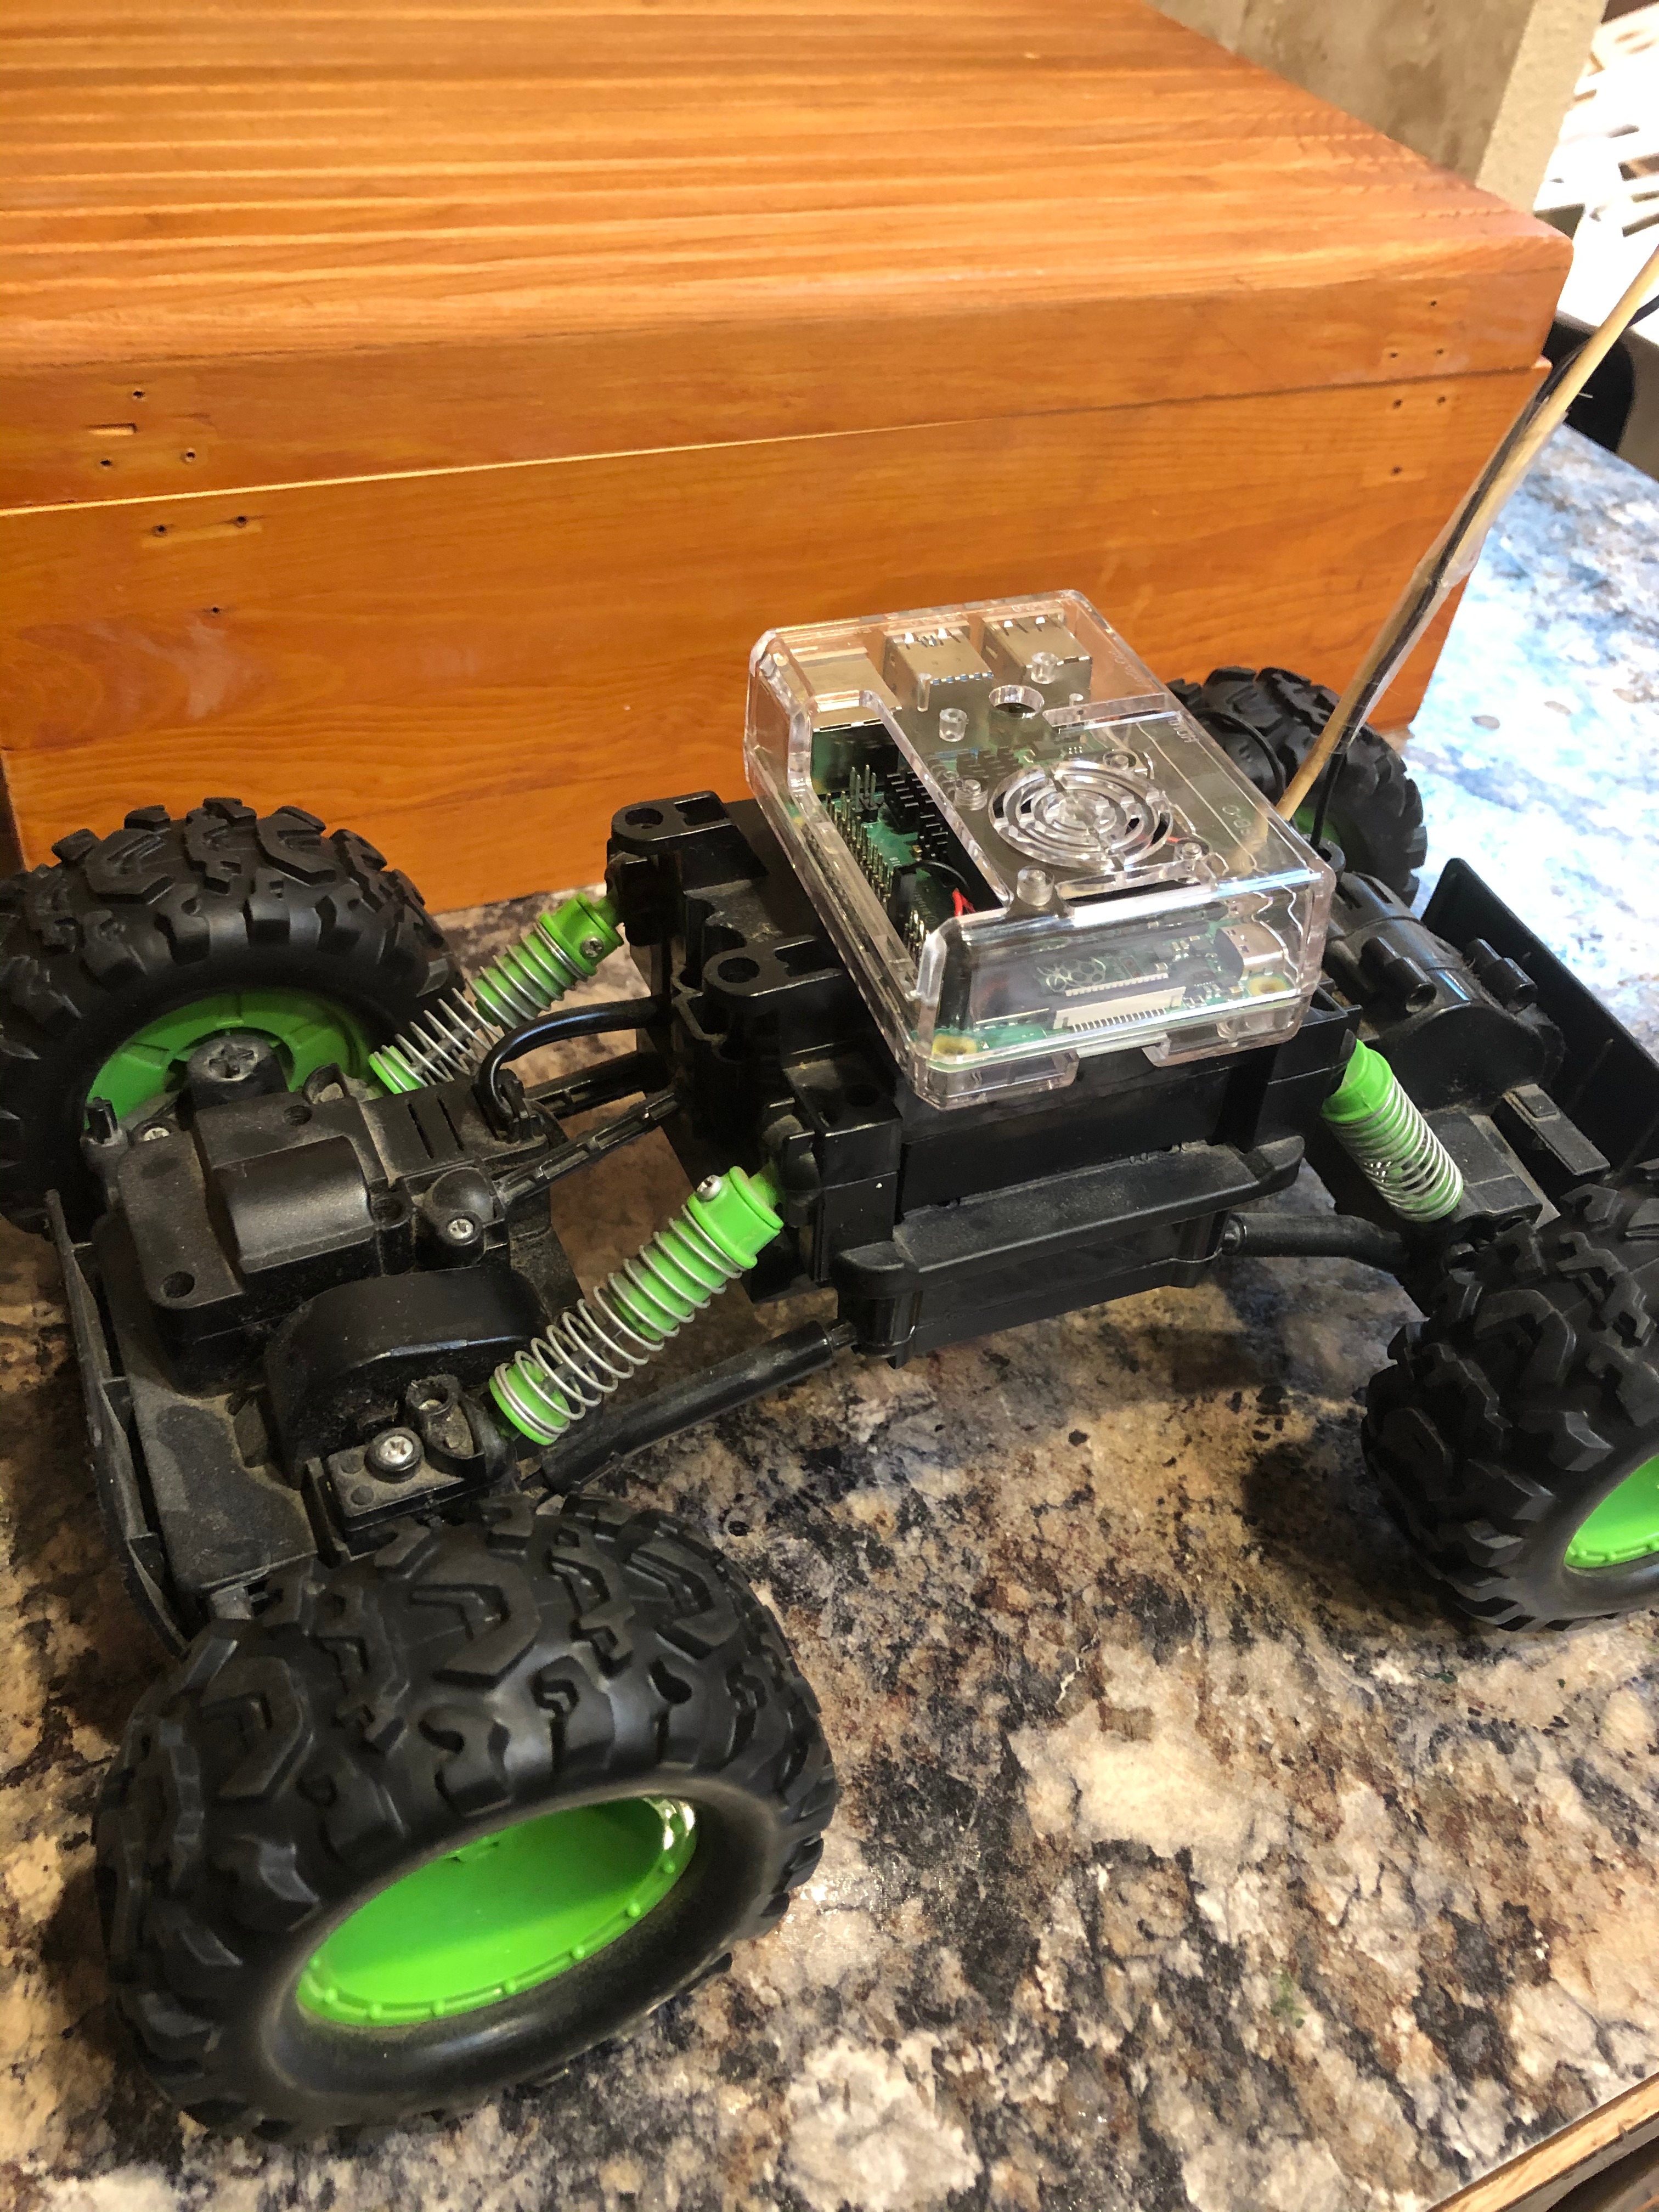
Yeah, that'll do.
Initial Wiring
I located the wires that powered the motors and used a pocket knife to strip away a section of the insulation.
Then I very sloppily tied another wire to it. I think I just wound the wire around the exposed copper and covered it with electrical tape. This was before I had access to a soldering iron.
These "tied-in" wires were attached to a L298N motor controller. Then a looked up what GPIO pins I should use to drive the motor controller. This guide on instructables proved invaluable, even if it was made for an older pi.
The L298N had space for two motors. So I replicated the wiring for the simple on/off style steering of the toy car. Now I have steering! It's not as fancy as proportional steering you may get with a servo, but it worked.
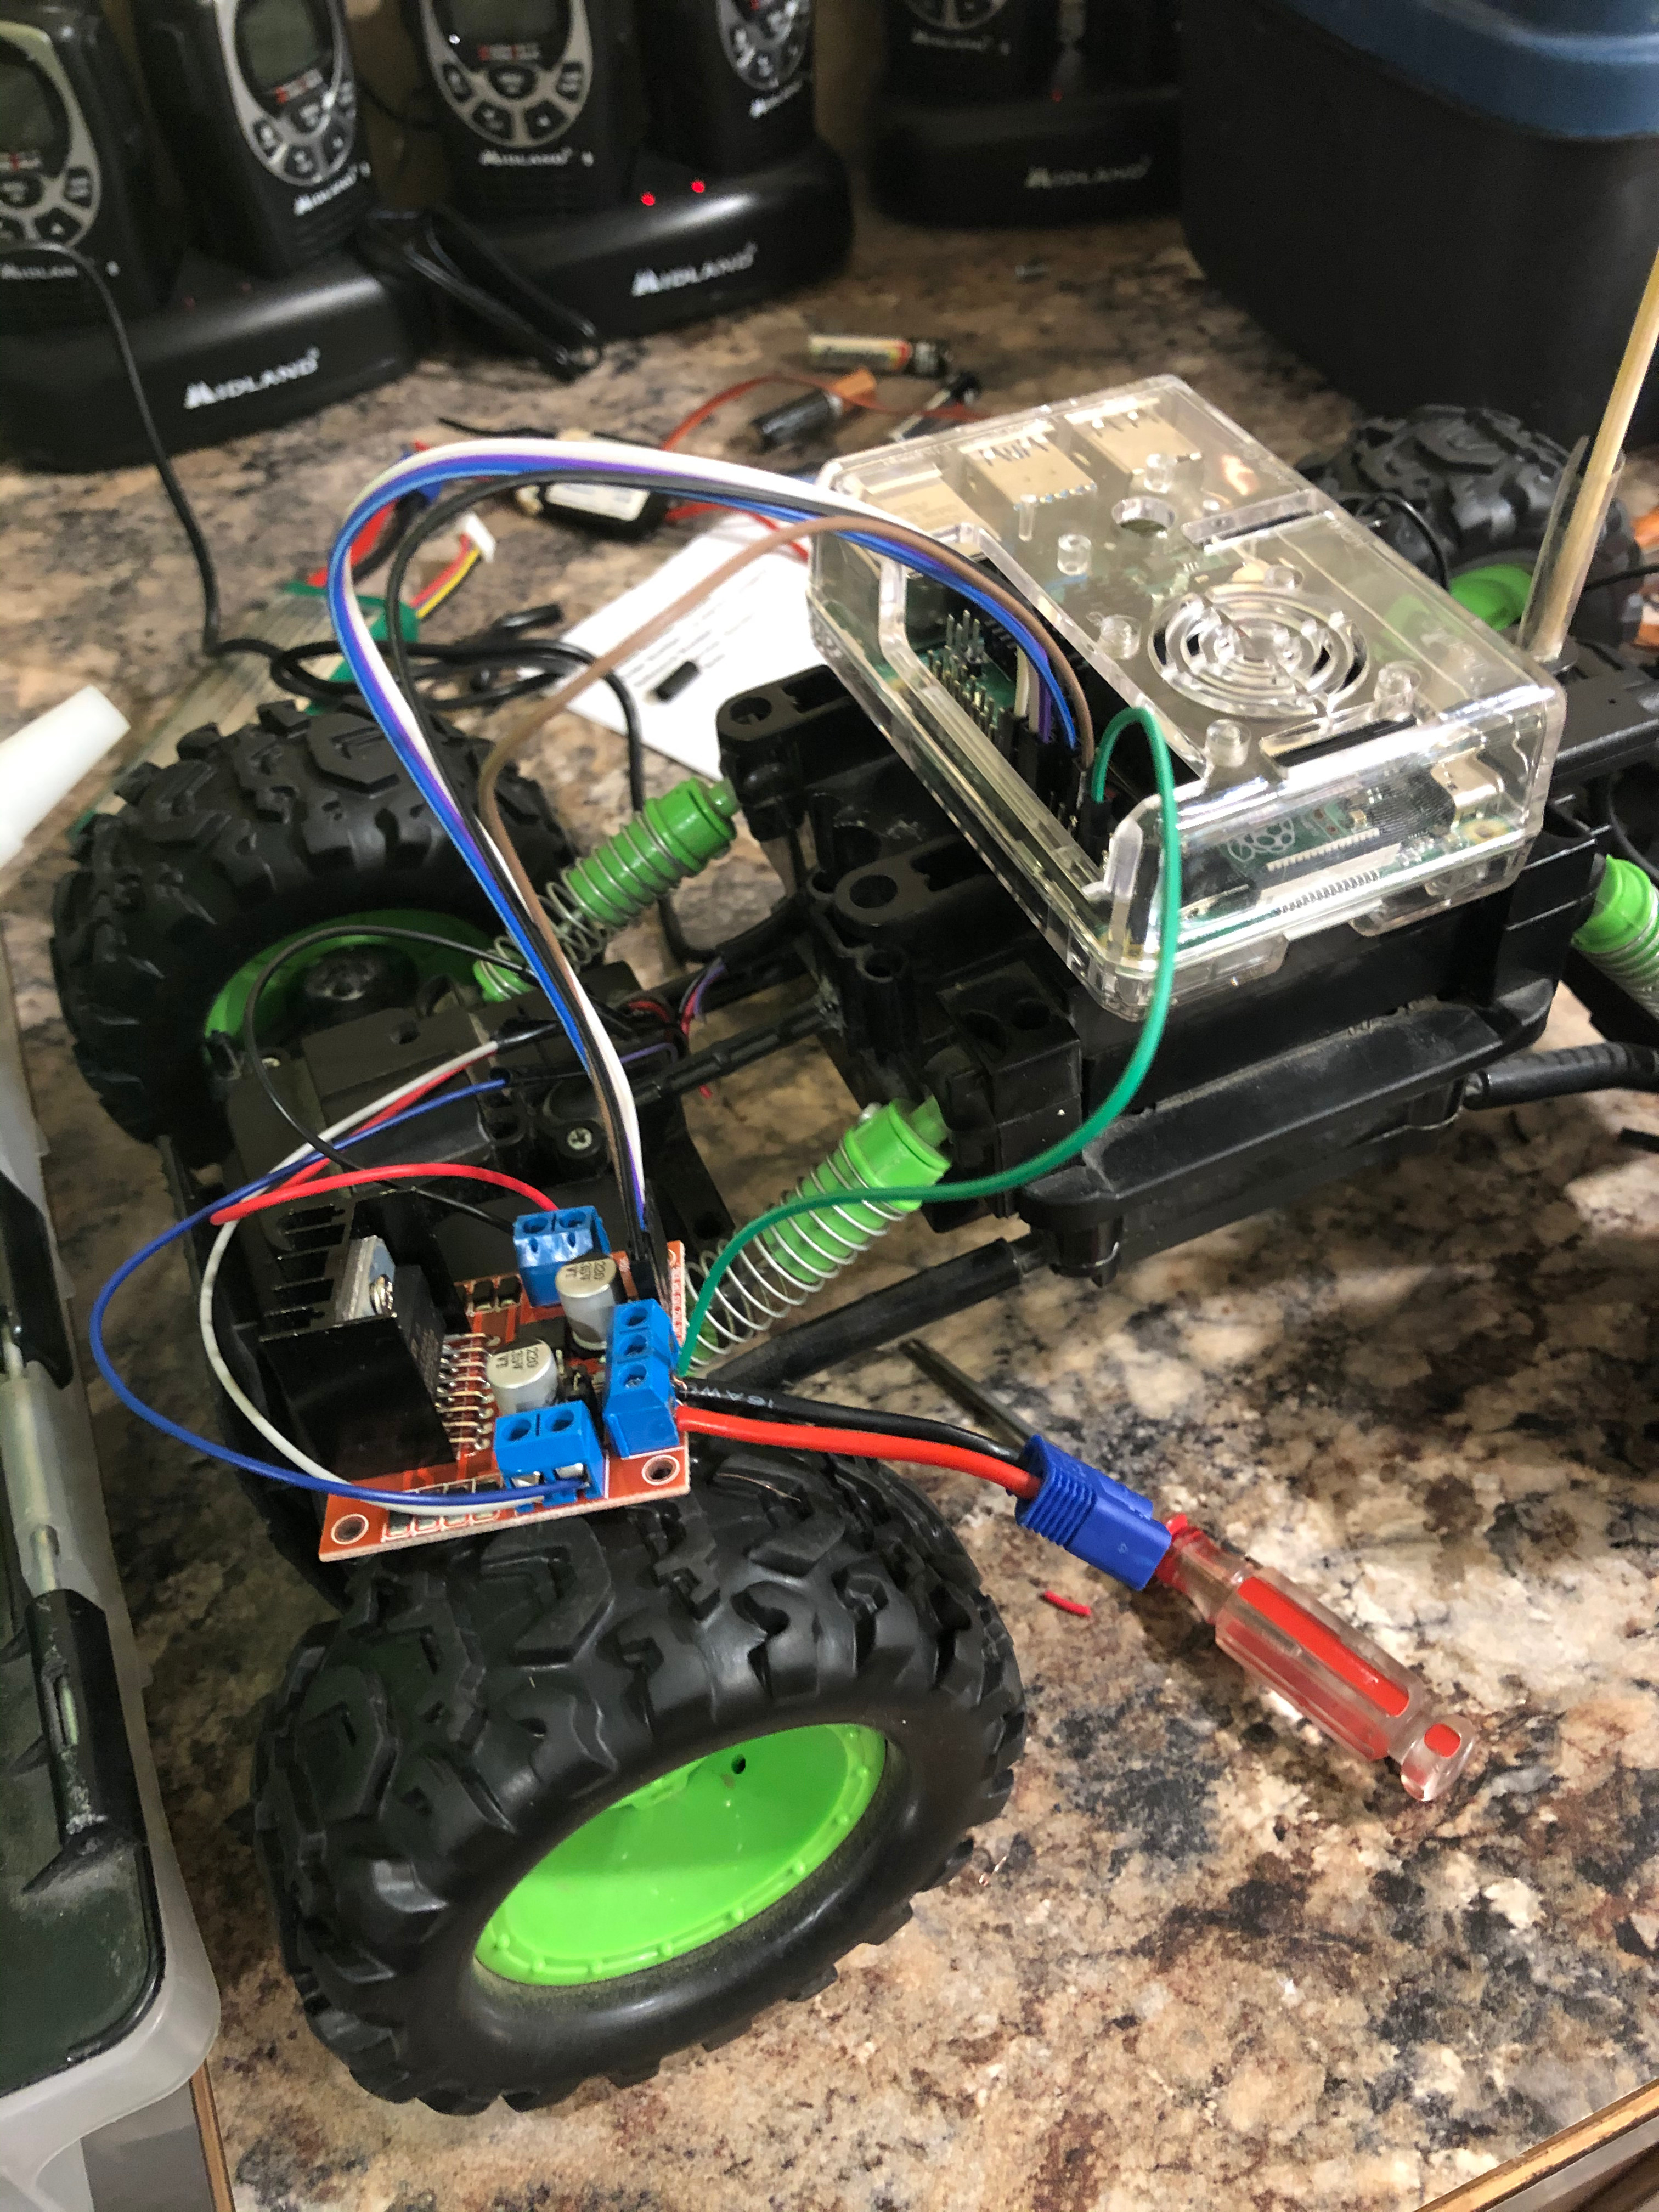
Then a simple pi-camera was hot-glued to the frame so I had eyes.
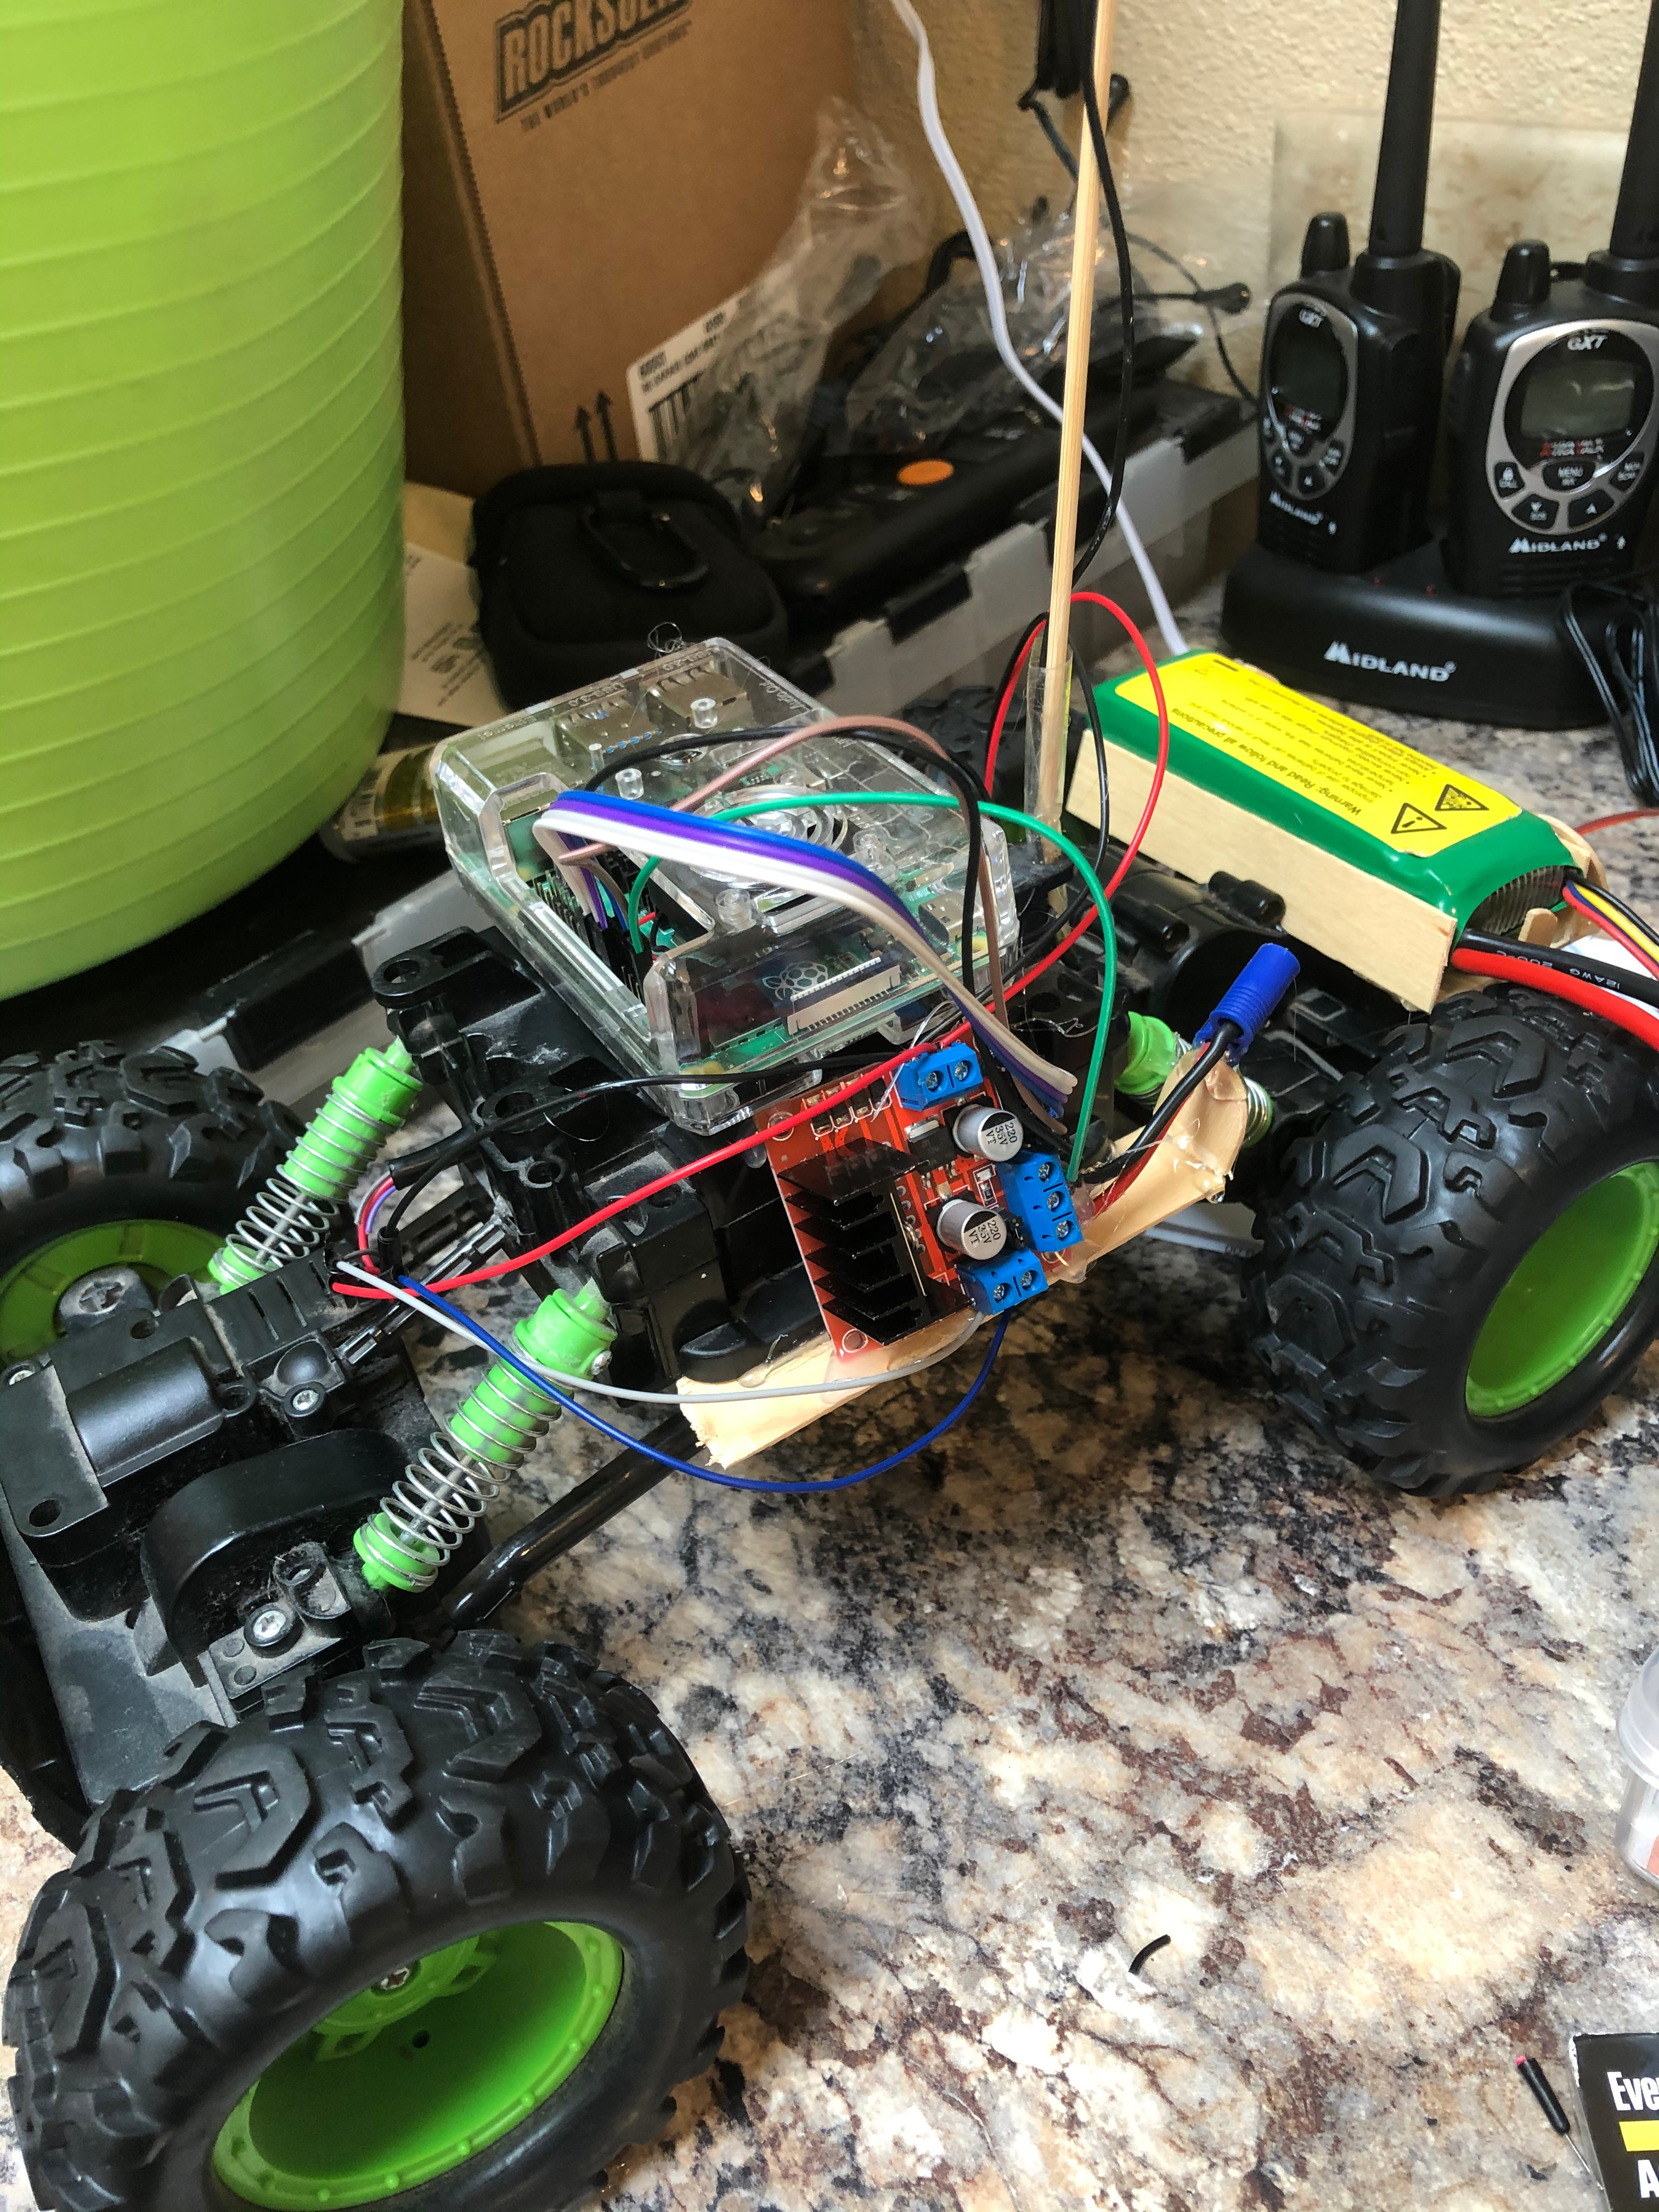
With the edition of a lipo battery to power the motors and a cheap power bank to feed the Pi, I finnally had a self-powered unit!
It's worth noting that most of the equipment was attached via hot-glue and popsicle sticks.
Basic Software
The first notable iteration of the python script took input from the command line to determine how fast to spin each motor.
This gave me enough rudementary control to drive foreward and backward at various speeds. Cool... well not really.
I copied a PTZ web interface I had built for work and adapted it for my new tiny platform.
This interface used fastapi, to serve a basic single-file website that included a canvas element and a button panel.
Pushing the forward button while speed was set to 50% would send a fetch request to /api/fwd/50. Then my python script, which now also served this single-file site, would start the motors at 50%.
Releasing any button would send a stop command. Then I used the motion-project to stream jpeg's to the web interface. Now I could drive around and get a slightly-laggy video feed.
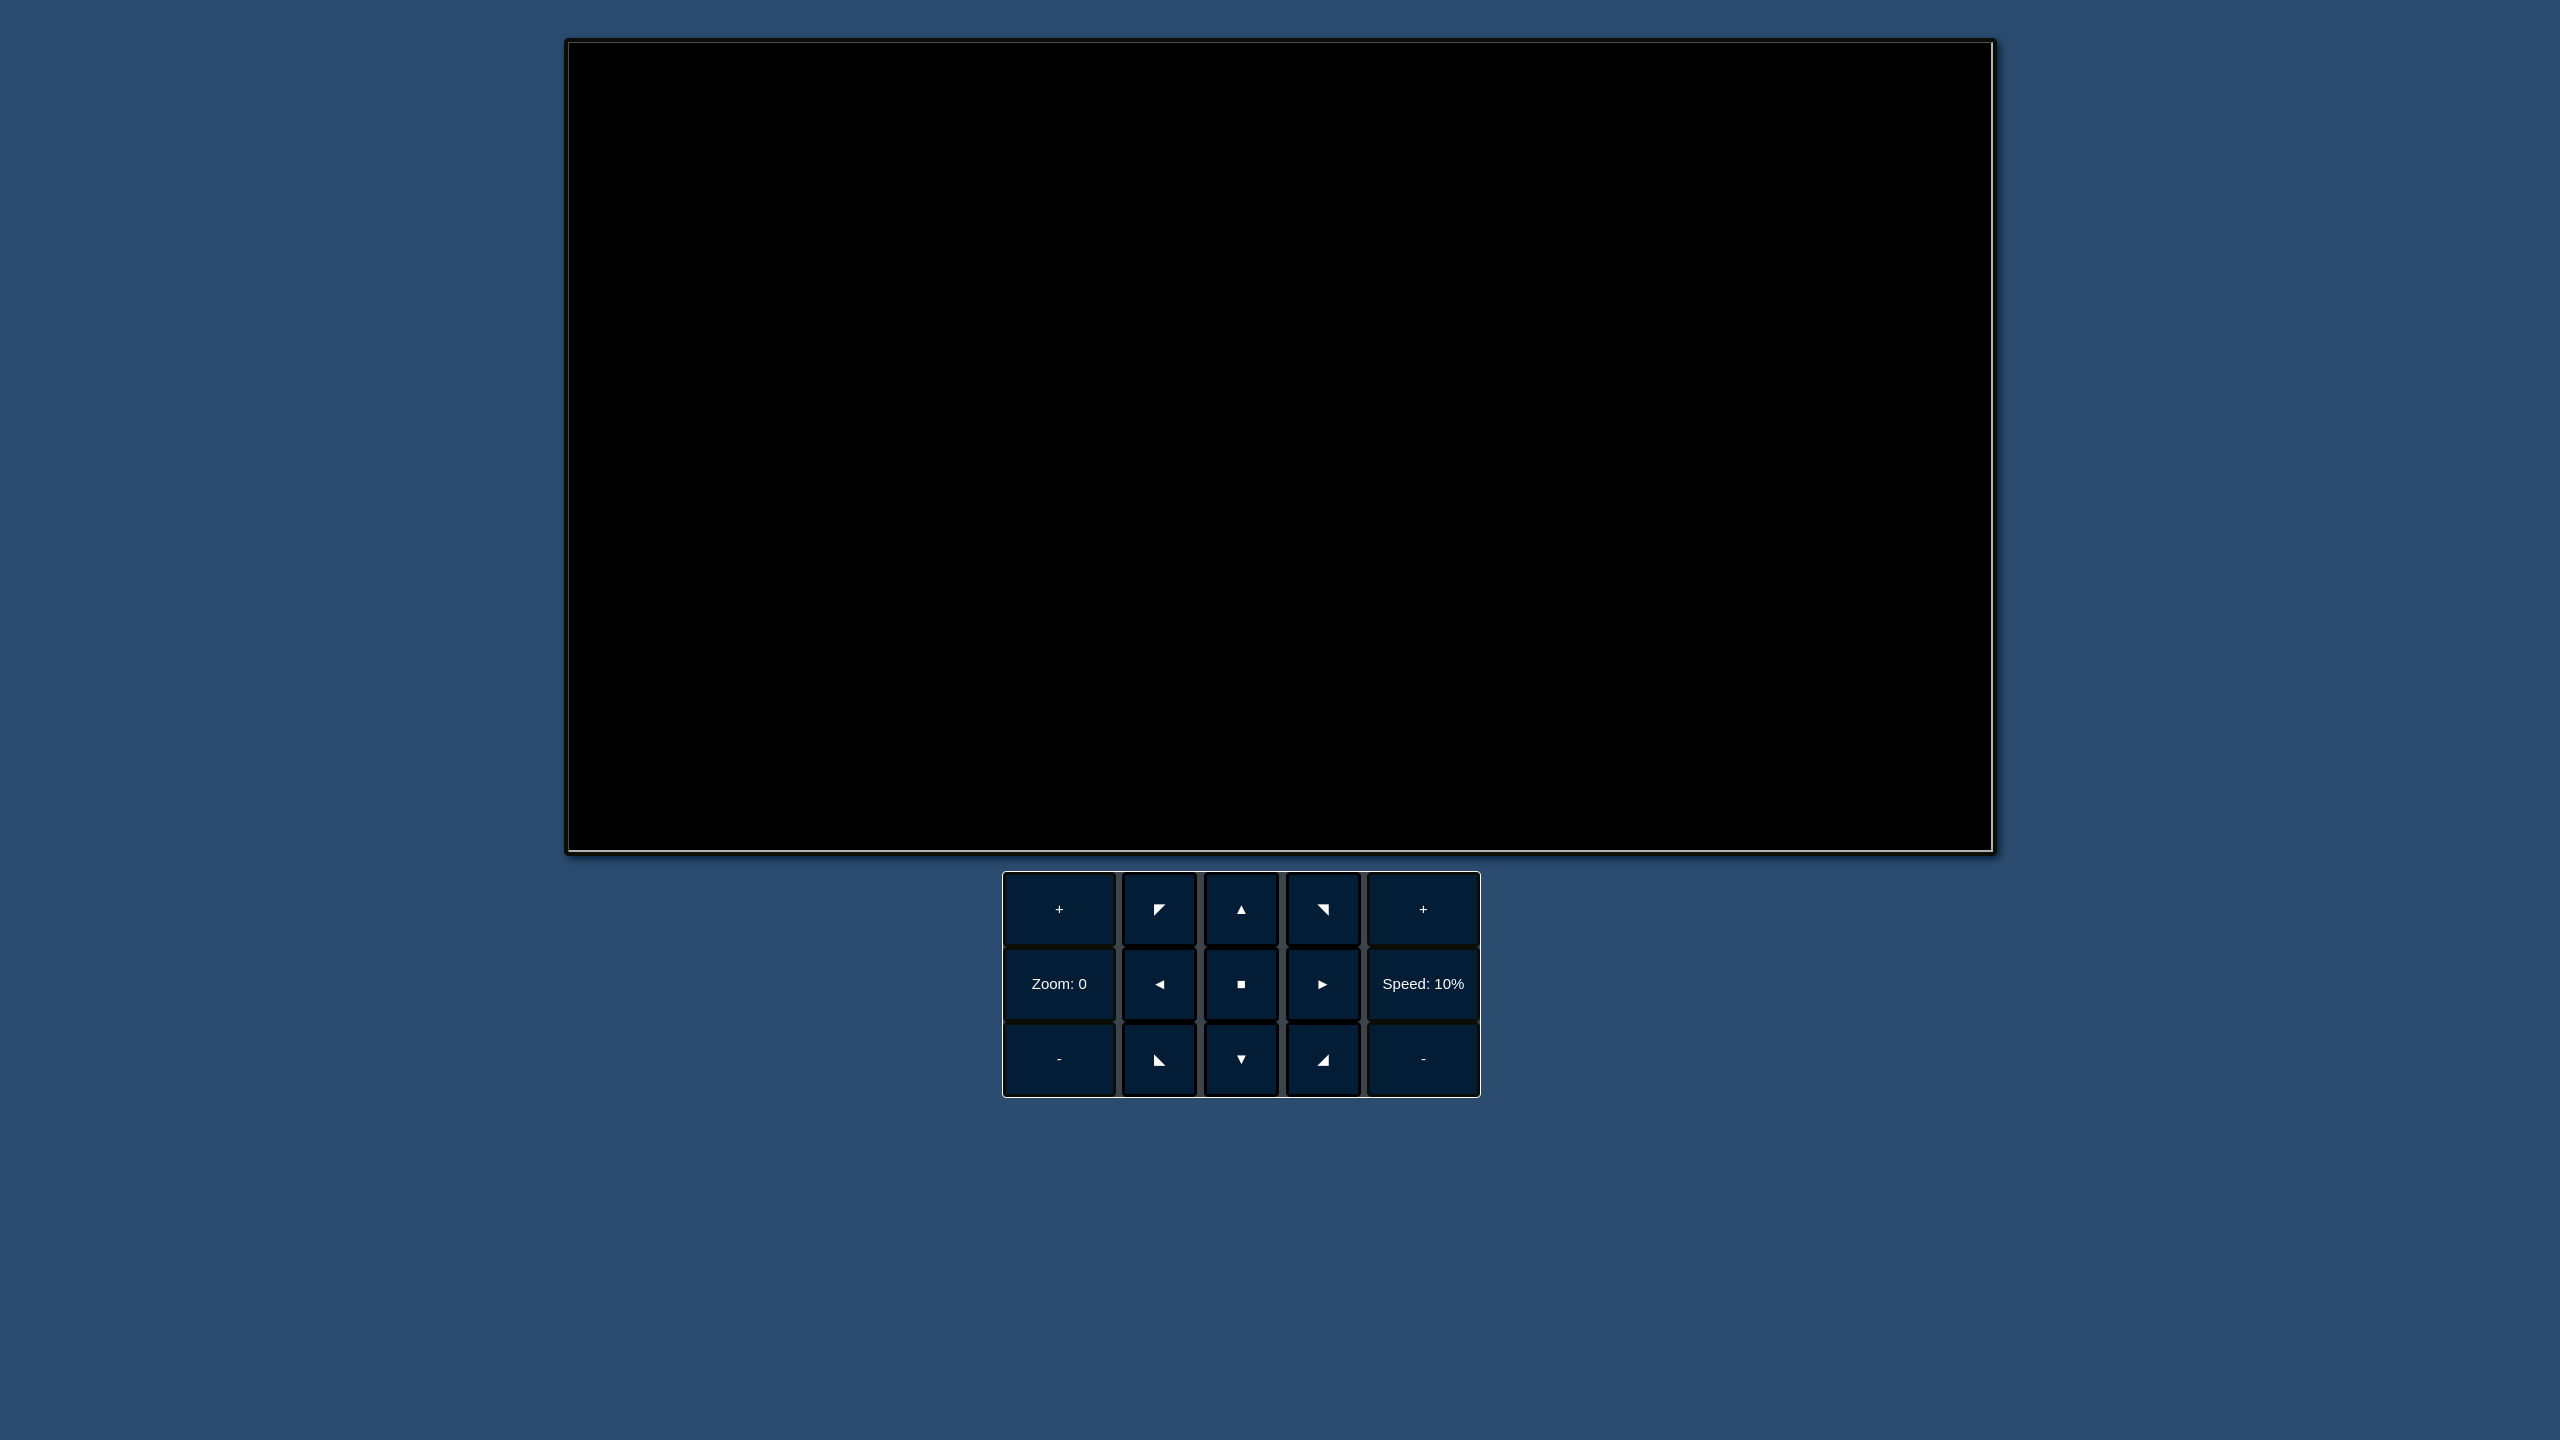
Behold, my initial hacky and wacky control system!
Hacky Sensor Suite
The basic robot was cool, but it amounted to a fancy rc car. And so I resolved to give it eyes.
I happened to have a HC-SR04 sonic distance sensor, which did a good job of telling me when the robot was about to hit something. That's kinda neat, if only I had more of them...
Instead of spending money, I decided to mount the sensor on a servo and program it to take readings at different angles before moving towards the area with more space.
I was using some slightly hacky PWM library to run the servo right off the GPIO pins, which caused some jitter in the servo movement. This sometimes meant the readings were taken at incorrect angles.
It was neat. However, at this point I felt like the project had run its course.
The rc car augmented with electronics via popsicle sticks and hot glue was banished to "the shelf" which is where projects go to die...
But then...
New shell, new name
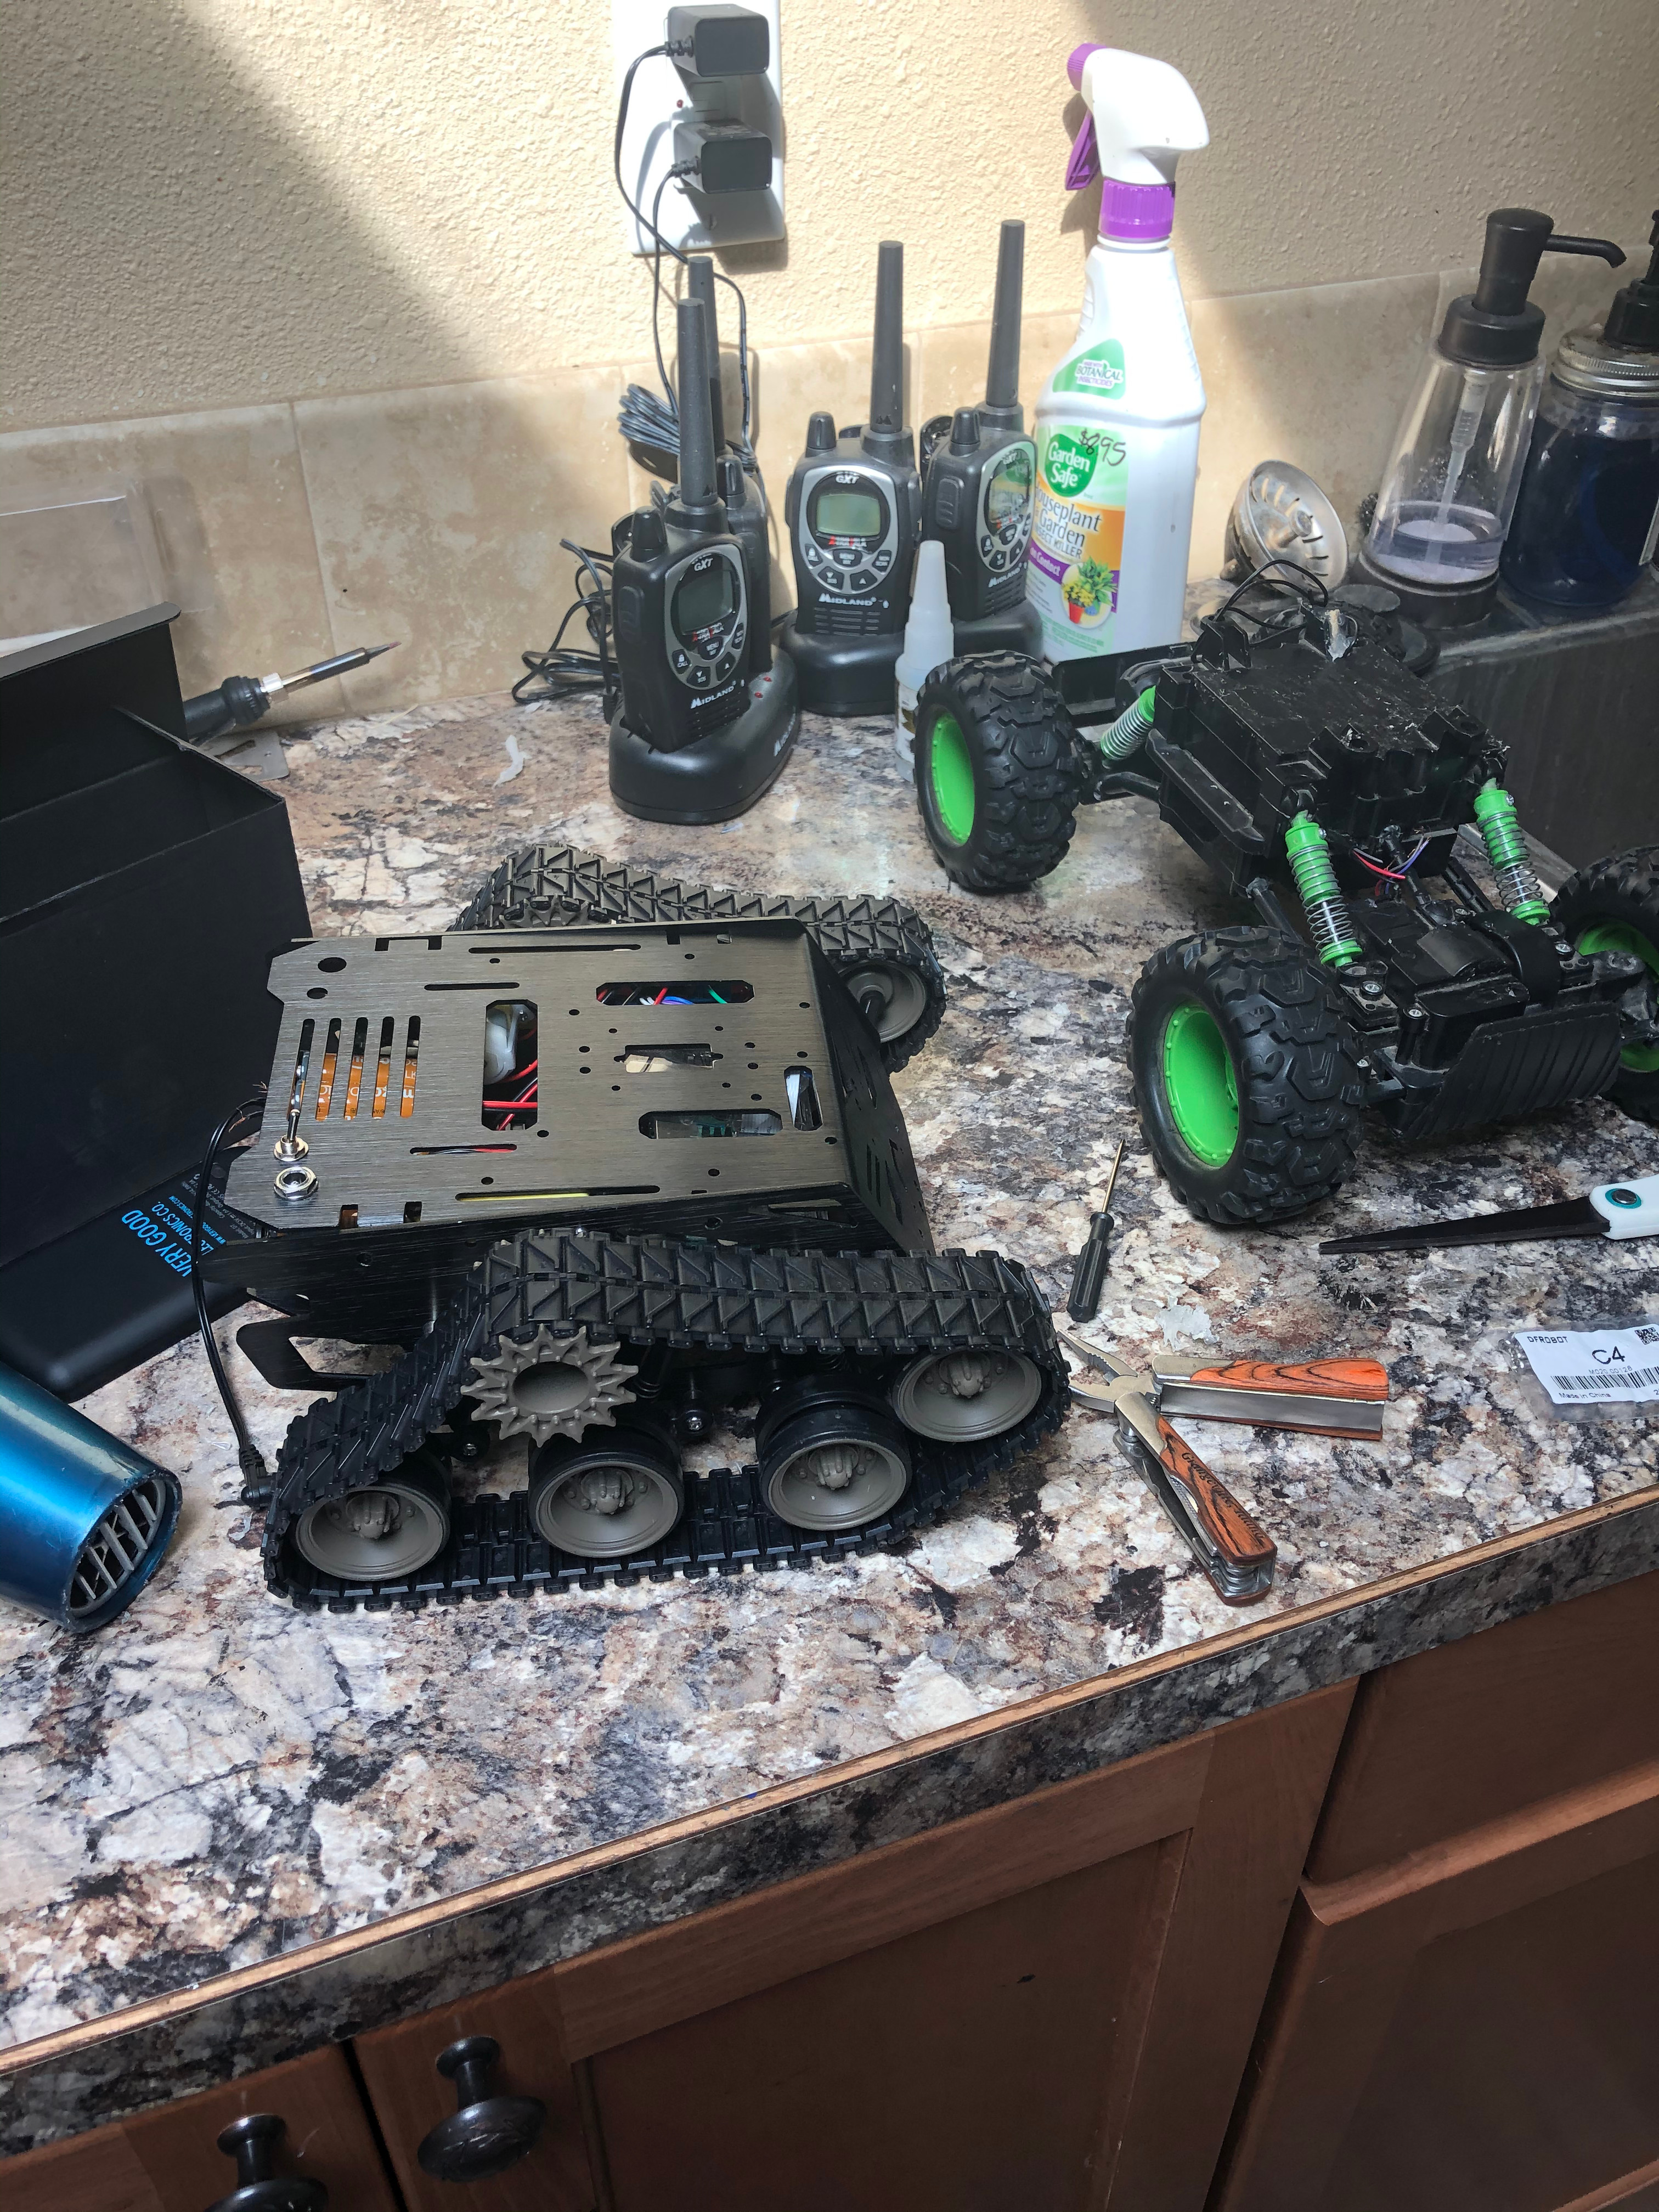
Current state and Plans
Note: Part two in progress. Publishing as-is to avoid stagnation.